Trail essentials
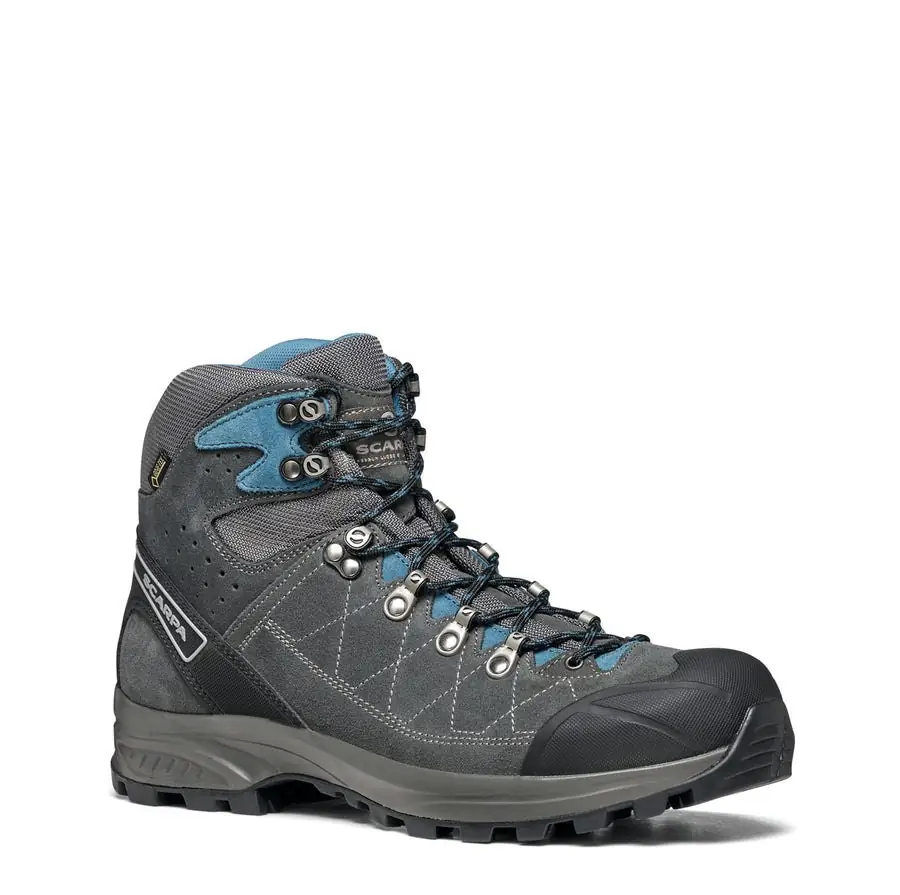
Hiking boots
Try boots with your hiking socks on slopes. Your heel should stay secure without squeezing your toes. Match the footwear and insulation to the route, and test it before traveling.

Every item has a job. Understand what you need, try it before you travel, and check your trip list before buying or renting.
The photos help you identify equipment; they are not brand recommendations. A day hike, a camping trek and a snowy summit need different kit.
33 photographed items to help you understand your kit. This is not a universal shopping list: choose according to your route, the weather and what your trip supplies.
Select a photo to open the full image.
Start with fit and comfort, then match protection to the terrain.
Trail essentials
Try boots with your hiking socks on slopes. Your heel should stay secure without squeezing your toes. Match the footwear and insulation to the route, and test it before traveling.
Trail essentials
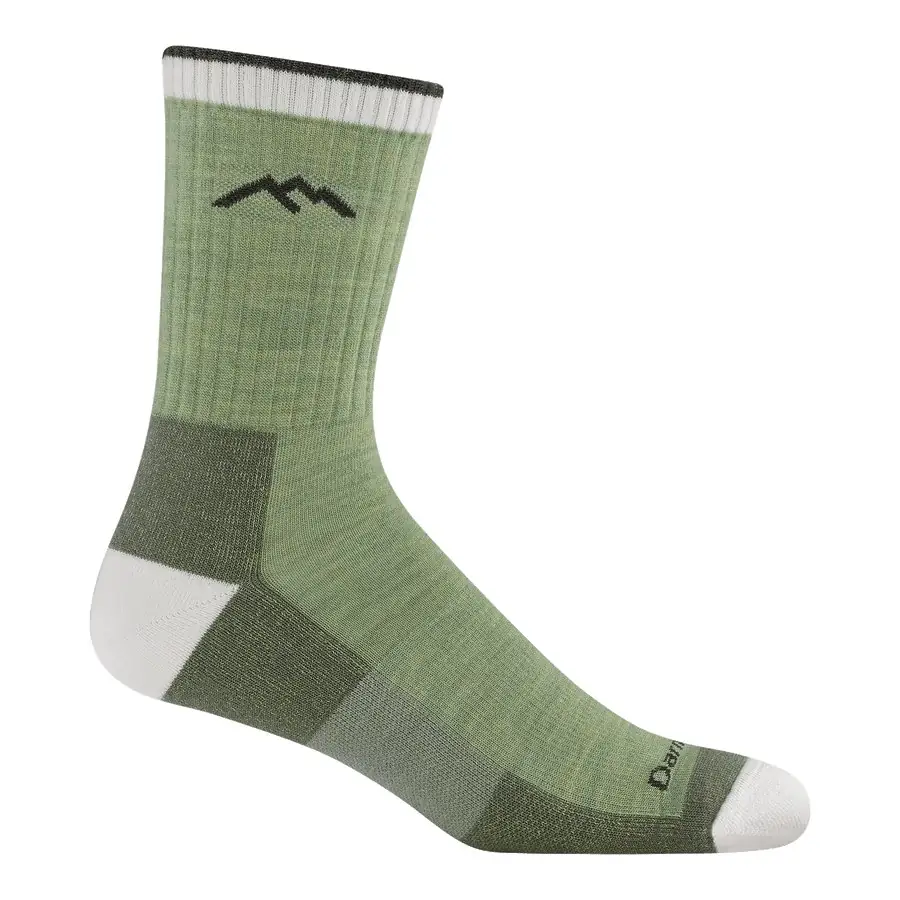
Choose well-fitting wool or synthetic socks without bunching. Carry a dry spare pair and test the thickness inside your boots to avoid pressure and rubbing.
Weather-dependent
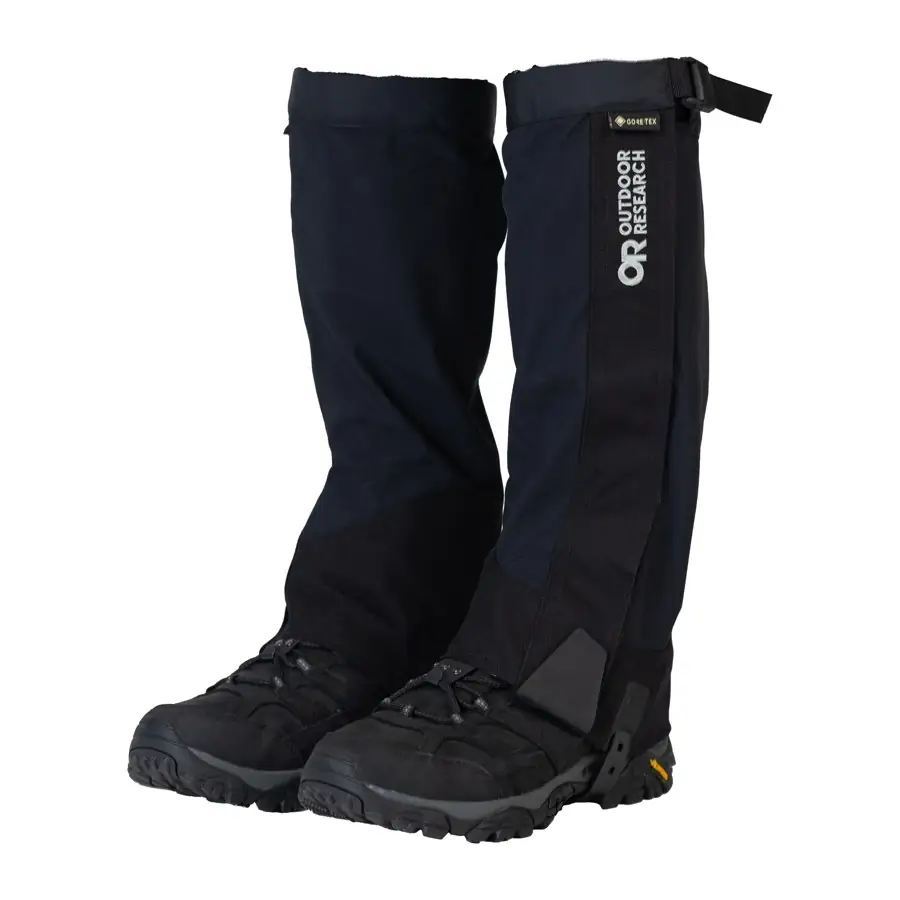
Gaiters cover boot tops and lower legs to help keep out snow, mud and grit. Test straps and sizing with your boots. They are condition-dependent, not a substitute for suitable footwear.
Add or remove layers as effort and weather change. You do not wear every layer at once.
Trail essentials
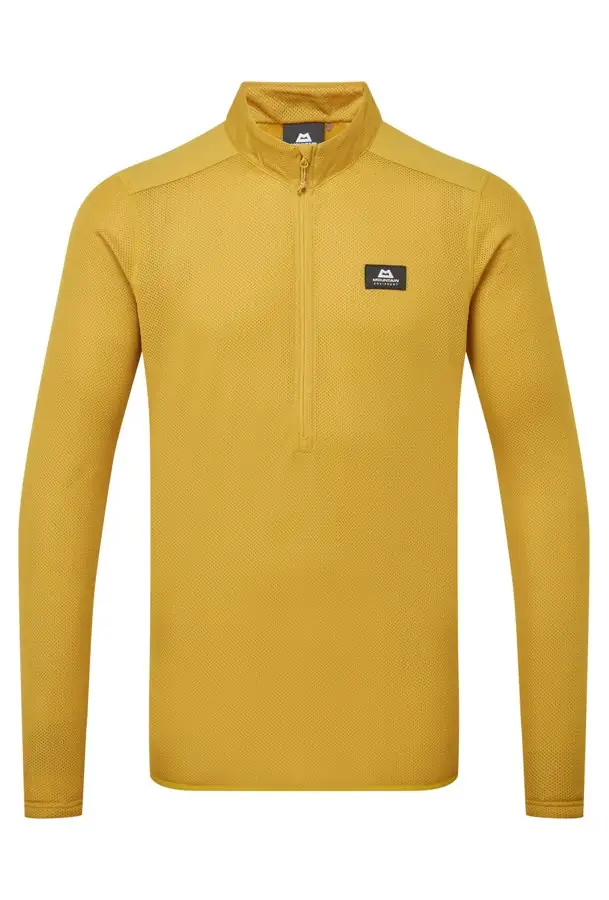
A next-to-skin layer helps manage sweat. Choose quick-drying wool or synthetic fabric and a fit that lets you move without rubbing.
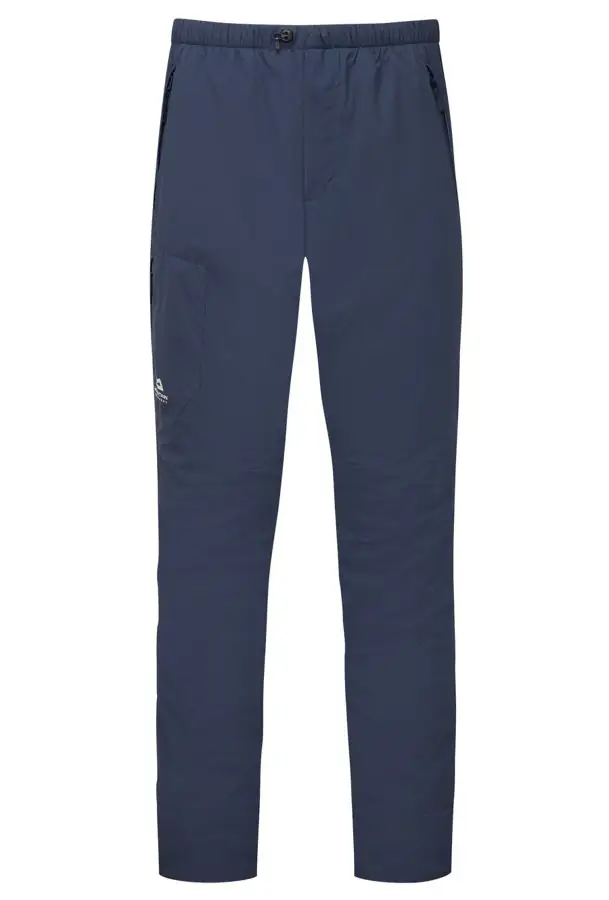
Weather-dependent
Wear under walking trousers when conditions are cold or during overnight stops. Try them under your outer layers and check that they do not restrict movement or pinch at the knees.
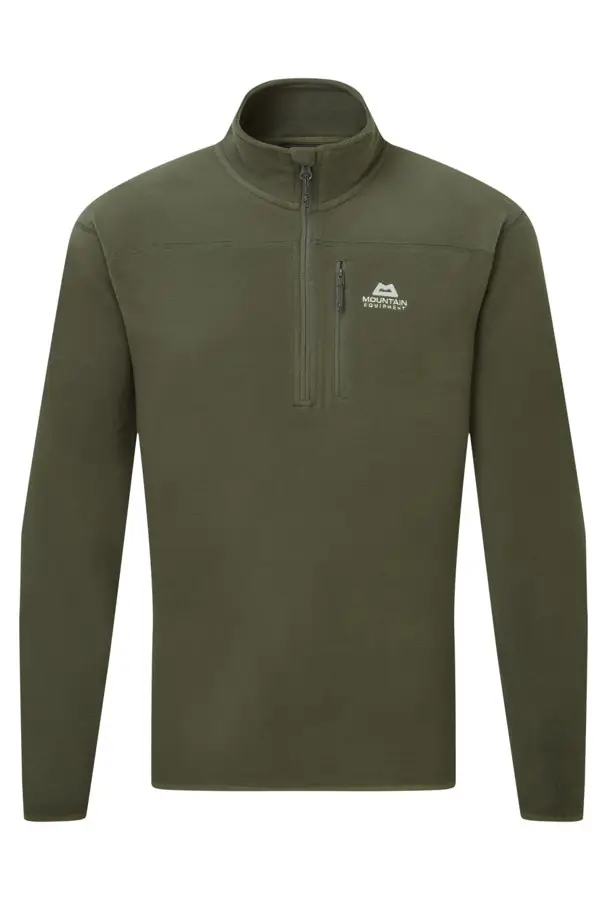
Weather-dependent
A light insulating layer for walking and cooler conditions. Fleece does not replace rain protection; choose a weight that suits the activity and fits beneath your shell.
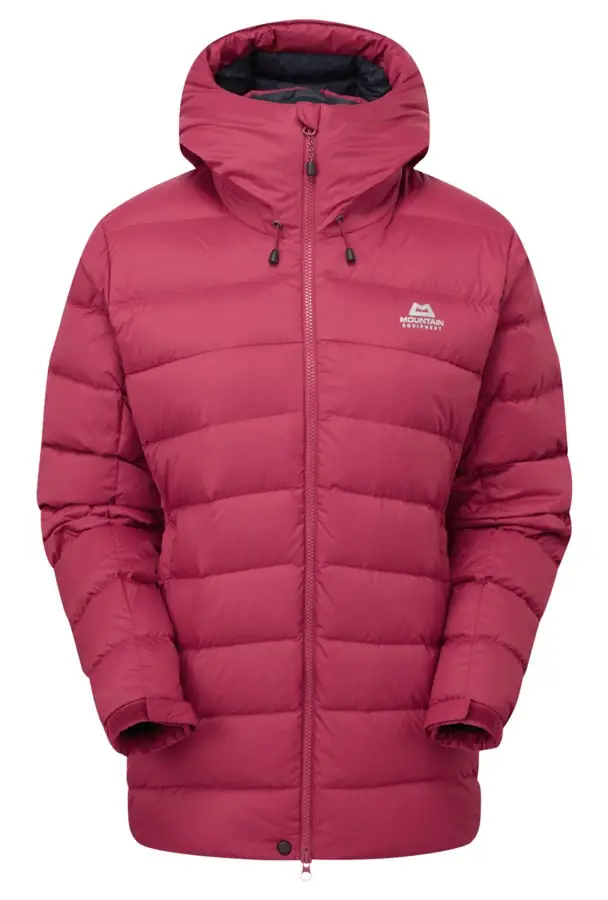
Weather-dependent
For cold stops, camp and very cold walking conditions. The route determines how much insulation you need. Keep it dry; not every puffy jacket is warm enough for a summit.
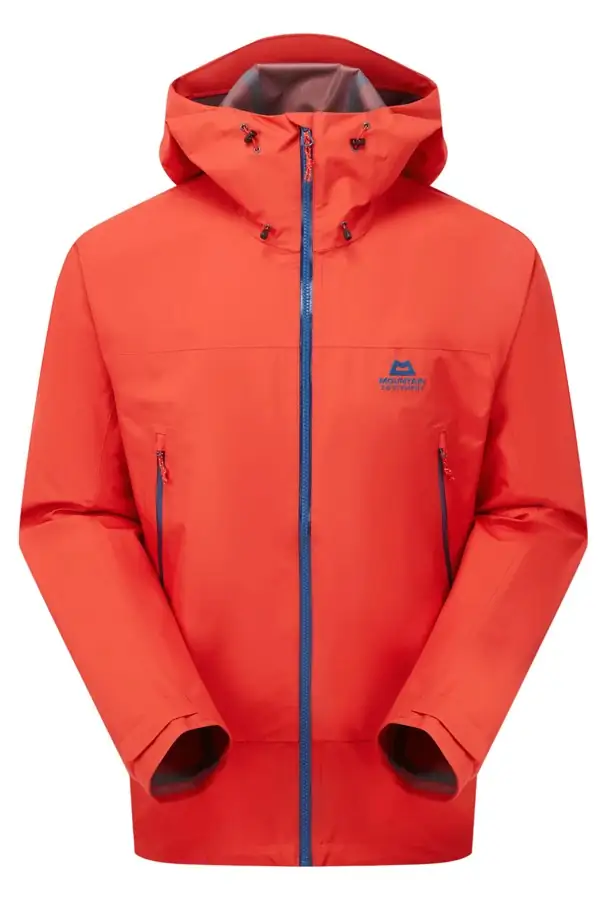
Weather-dependent
An outer layer for rain and wind, worn over insulating layers. Check the hood, zips and fit with your other clothing. Water-resistant fabric is not the same as a waterproof shell.
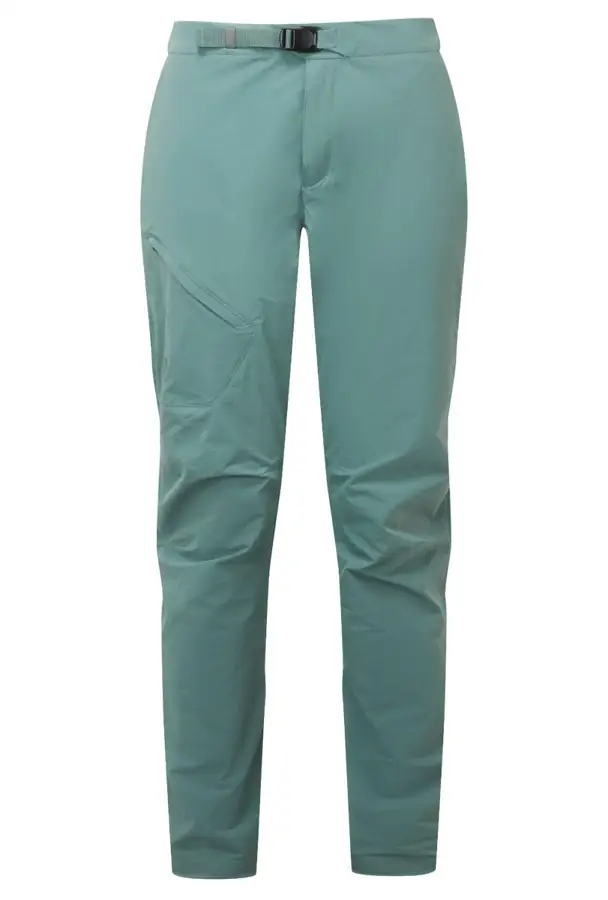
Trail essentials
Look for freedom to take large steps and bend your knees, plus quick-drying fabric. Test it with your pack and other layers. Avoid relying on denim in cold, wet conditions.
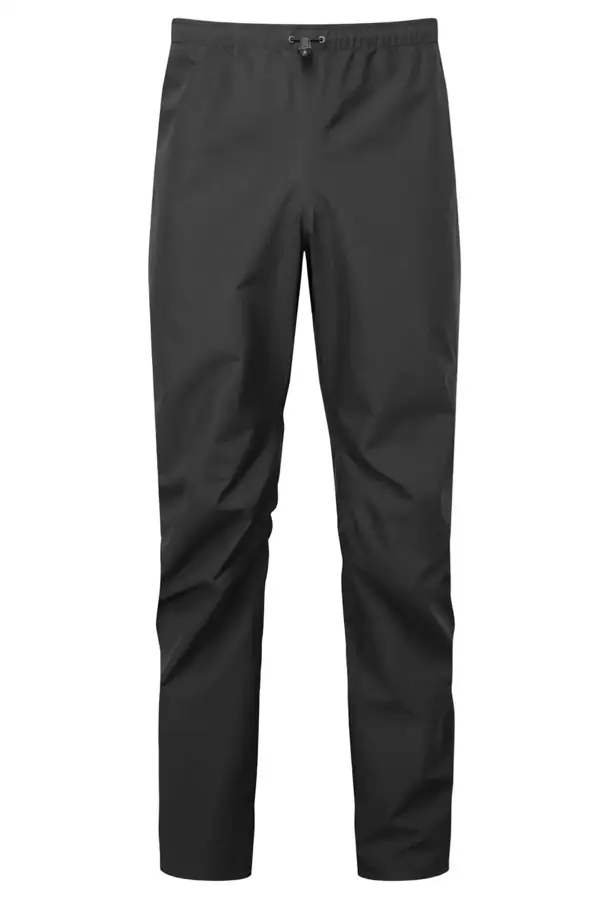
Weather-dependent
Wear over walking trousers when extra weather protection is needed. Practice putting them on with boots and check leg openings and ventilation. Required protection depends on the route and forecast.
Sun, wind and cold can all feature in the same mountain day.

Trail essentials
Choose headwear that stays secure in wind. Combine suitable face and neck coverage with clothing and sunscreen; a cap alone does not cover every exposed area.
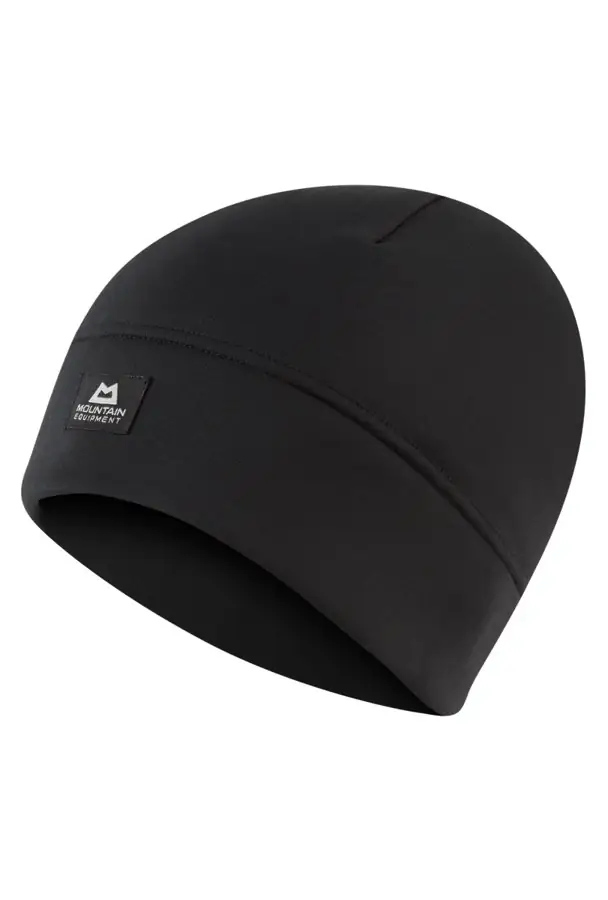
Weather-dependent
For warmth on cold mornings, at camp and in chilly conditions. Choose quick-drying material and check that it works with your jacket hood or a required helmet.
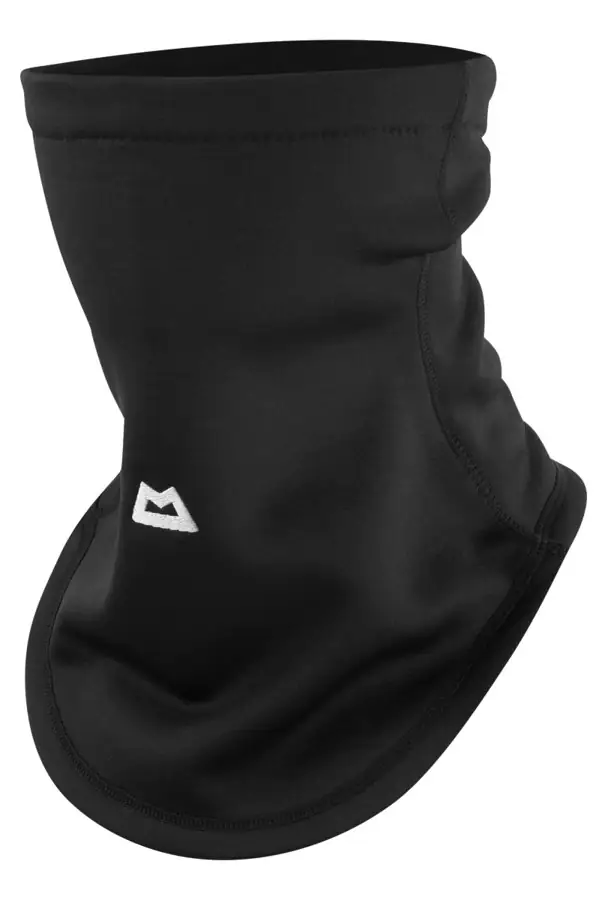
Weather-dependent
A flexible tube covers the neck and can extend over the face against wind and dust. It is not a respirator or a replacement for sunscreen on exposed skin.
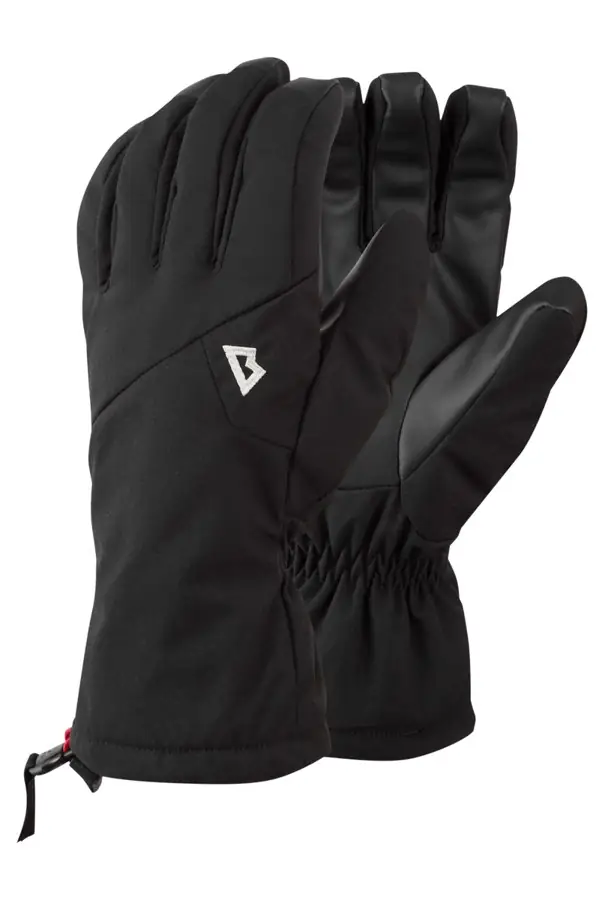
Weather-dependent
Try gripping trekking poles and operating zips while wearing them. Match warmth and wind or water protection to the itinerary; add a light liner pair when specified.
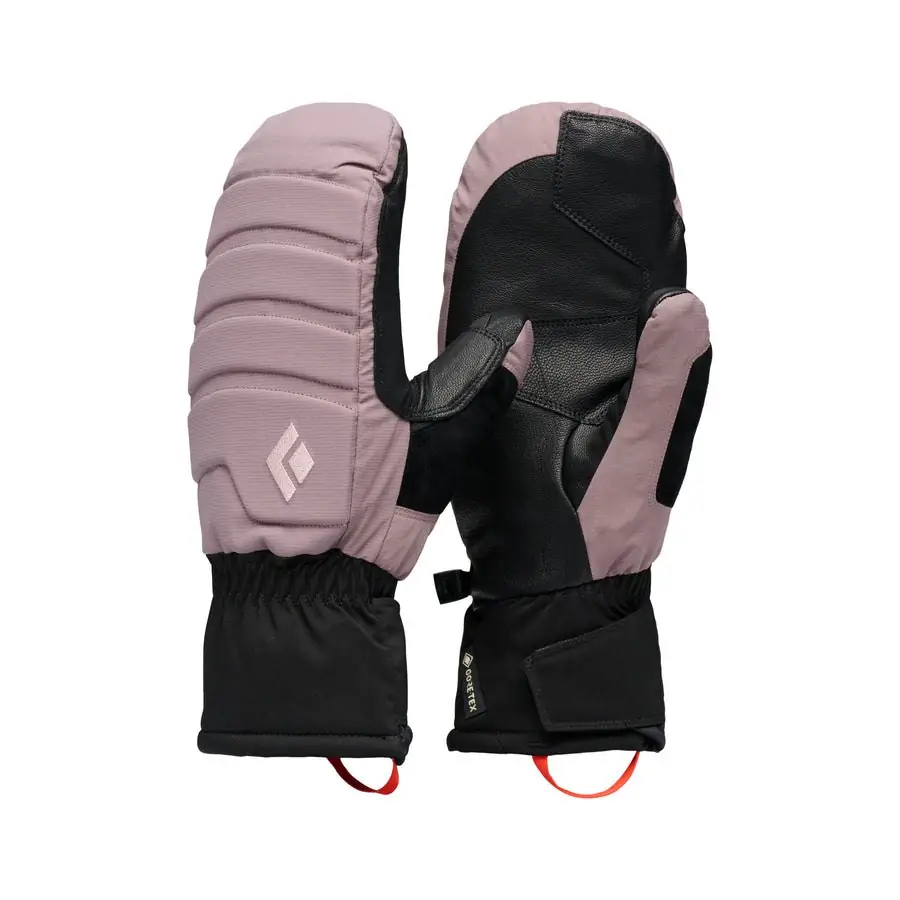
Weather-dependent
Mittens keep fingers together for warmth in very cold conditions. They reduce dexterity; test them over liner gloves if the team recommends that combination.
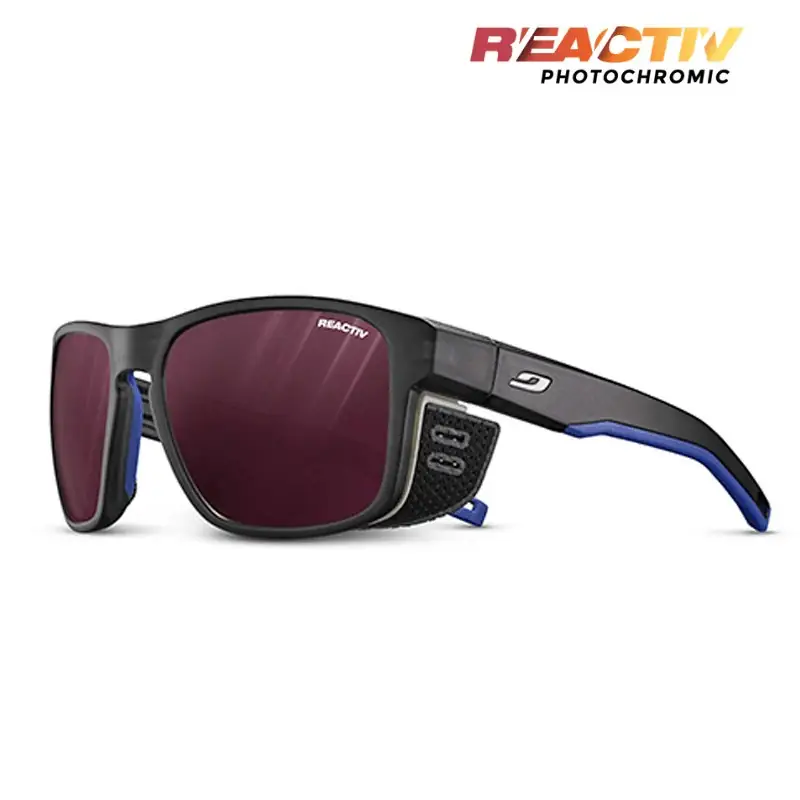
Trail essentials
Choose verified UV protection and a secure fit. Snow and high-altitude routes may need side coverage and guide-specified lenses; dark tint alone is not enough.
Separate walking essentials from luggage transported to your overnight stop.
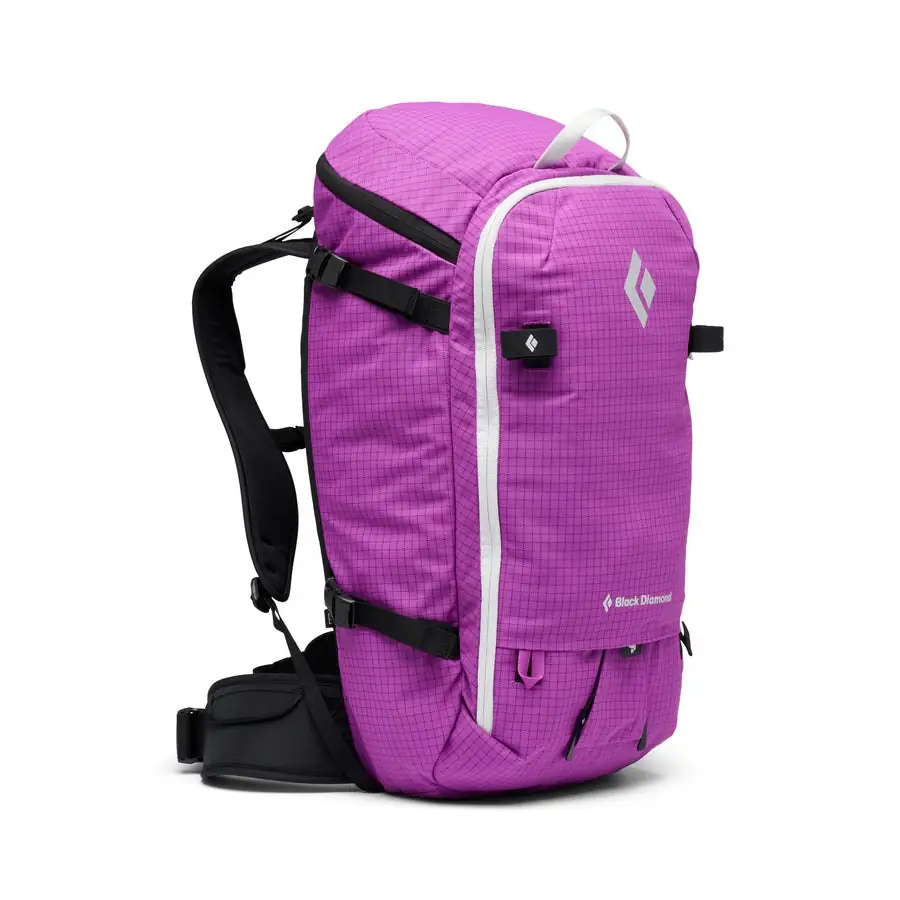
Trail essentials
Carries water, snacks, layers, light and personal essentials while walking. Try it loaded, adjust the straps and check the capacity required by your trip list.
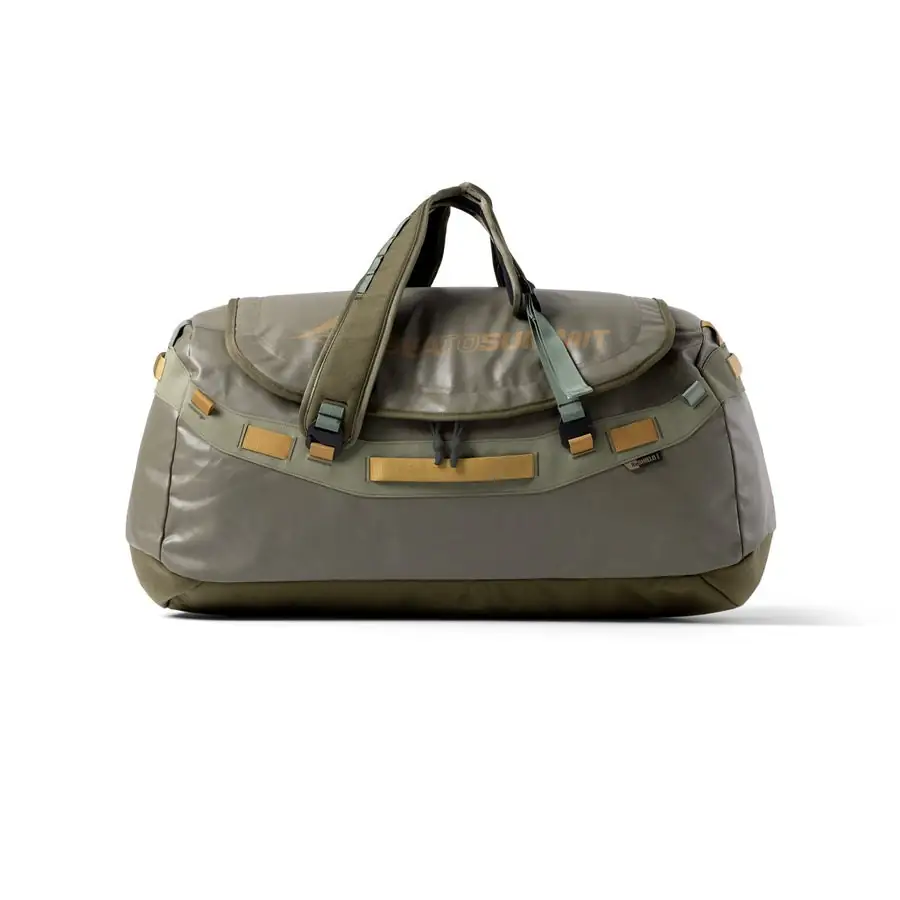
Itinerary-dependent
For clothing and equipment transported separately on some supported trips. Confirm bag type, weight allowance and transport arrangements. Keep medicines and layers needed during the walk in your daypack.
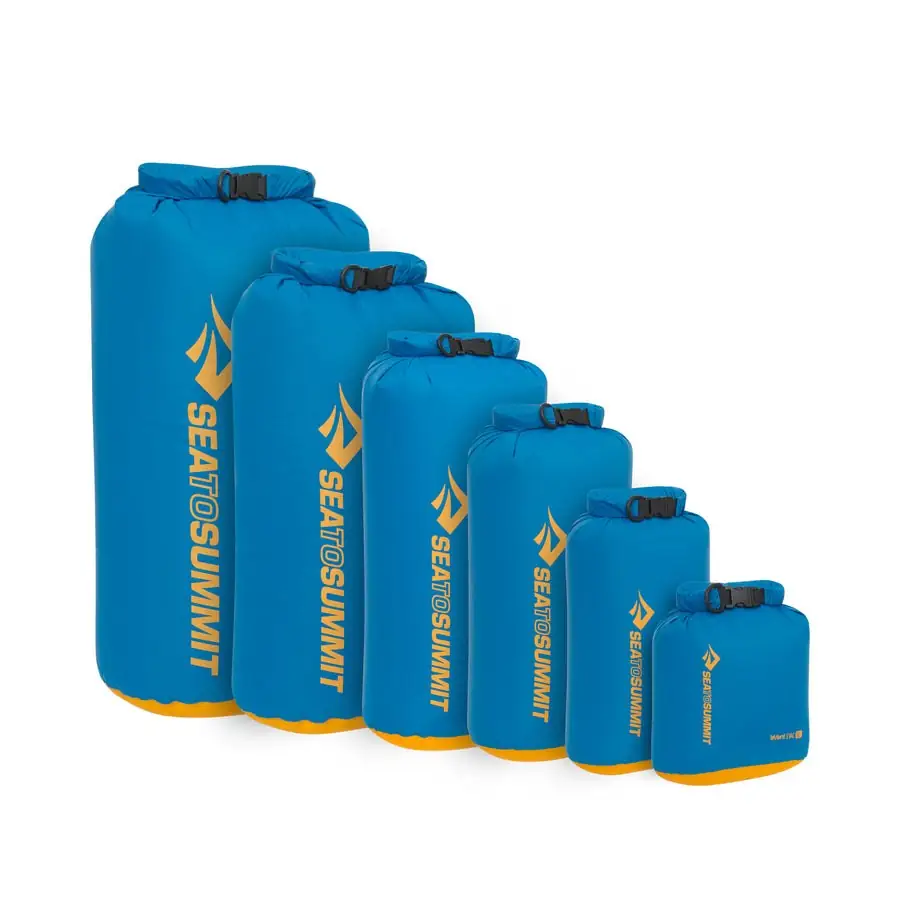
Trail essentials
Protect dry layers and your sleeping bag from moisture while organizing your kit. Do not assume a backpack or rain cover alone always keeps water out.
Keep these accessible and practice using them before you travel.
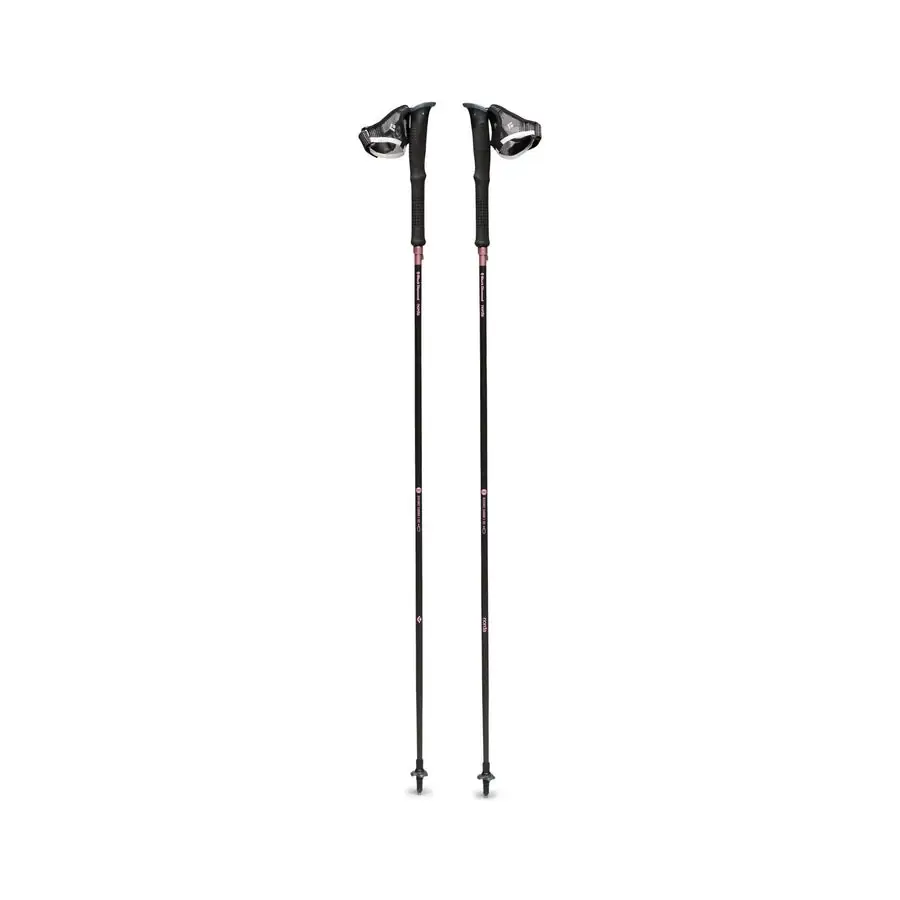
Itinerary-dependent
Can help balance on uneven ground. Practice adjusting the length and locks, and ask how to use them on your route. Pole tips are not suitable for every surface.
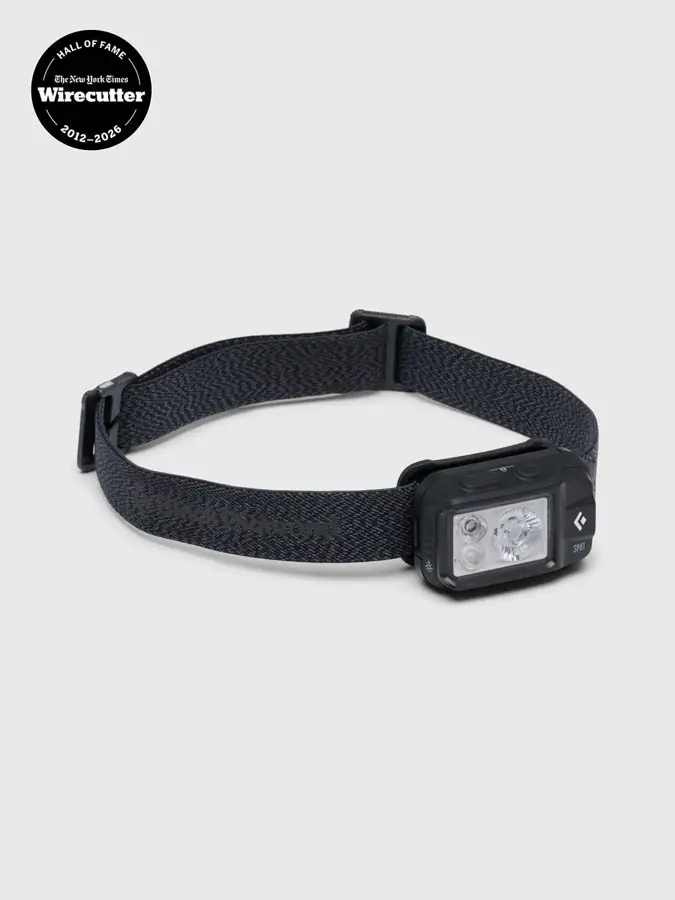
Trail essentials
Keeps your hands free for early starts, evenings and camp. Test the light and bring compatible batteries or charging. Your phone light should not be your only option.
Trail essentials
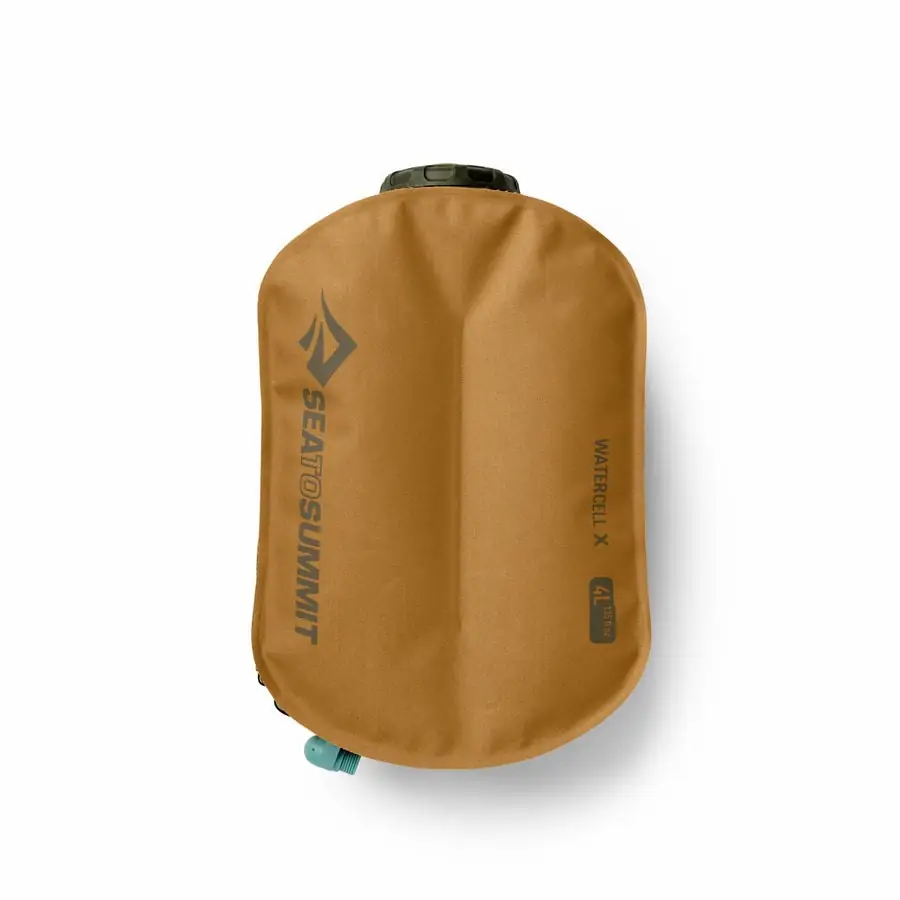
Choose a carrying system you can use easily with your pack; the photo shows a reservoir. Confirm quantity, refills and treatment arrangements. Drinking tubes can freeze in cold conditions.
Itinerary-dependent
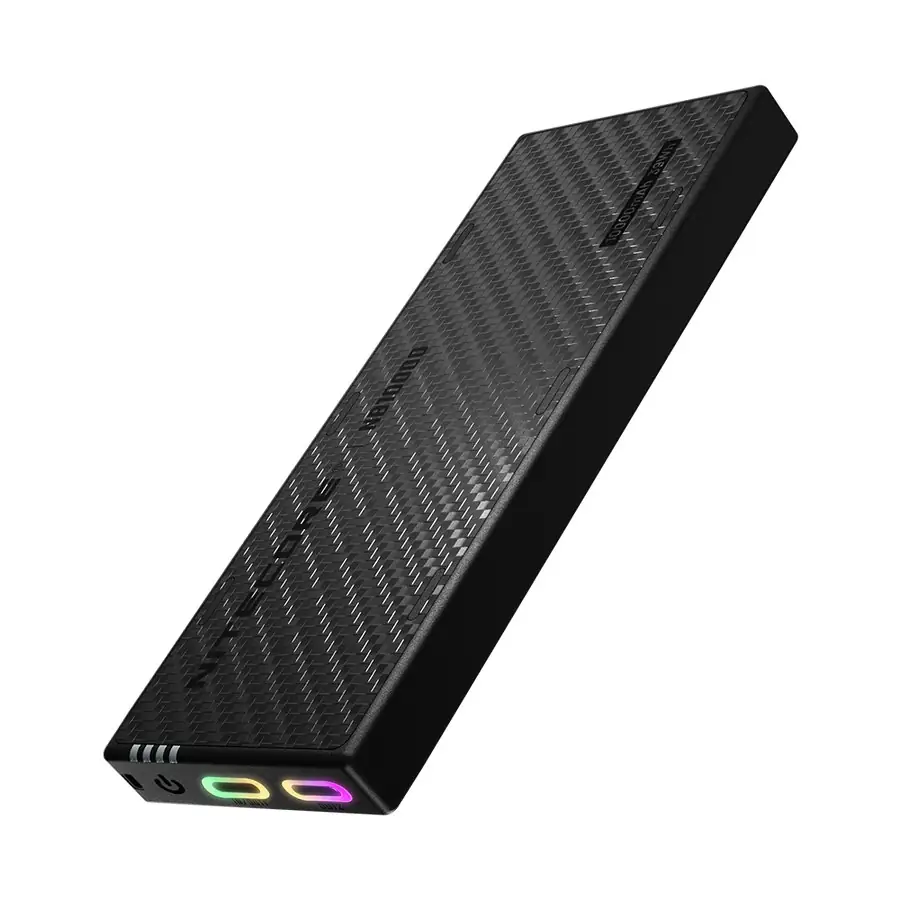
Check cable compatibility with your phone and headlamp and test charging first. Protect devices from cold and moisture, and check your airline’s battery carriage rules.
Confirm what the trip provides and what you need to bring or rent.
When overnight arrangements require it
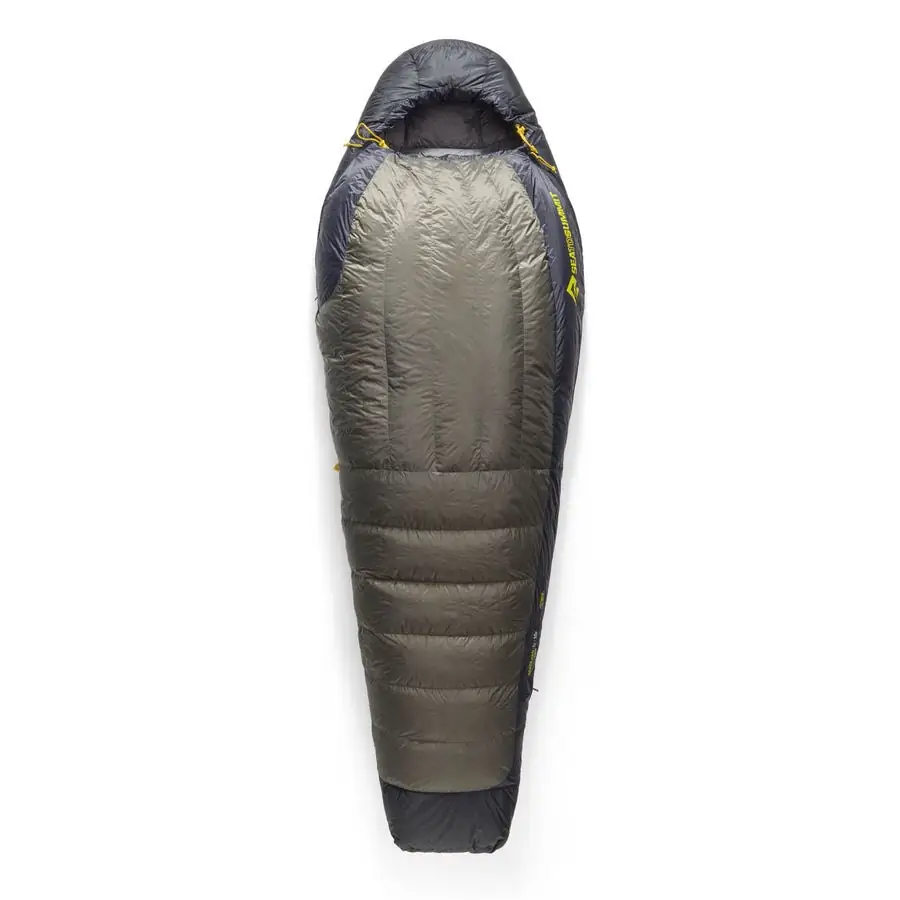
Match the comfort rating to expected overnight lows, with a suitable margin discussed with the team. An extreme survival rating is not a comfort target. Keep the bag dry.
When overnight arrangements require it
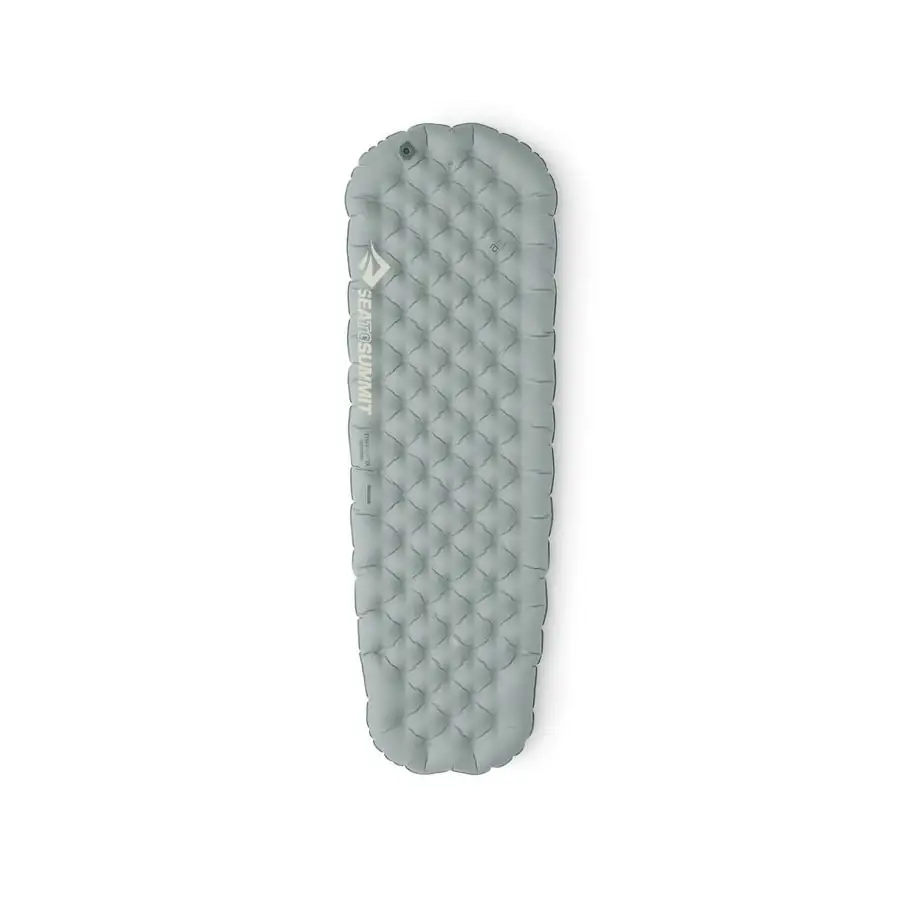
Insulates you from the ground as well as adding comfort. Confirm the insulation level and size, and practice inflation, deflation and repairs. It may be supplied by the trip.
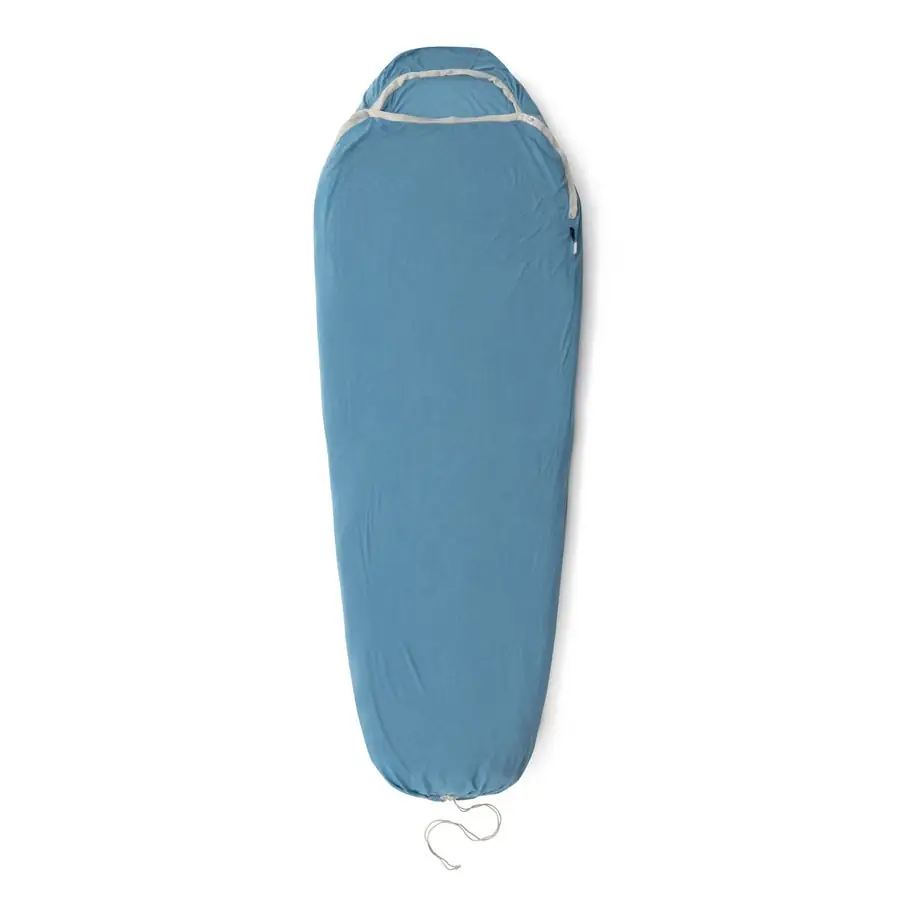
When overnight arrangements require it
An inner liner can help keep a sleeping bag or hut bedding clean. It does not make an unsuitable sleeping bag safe for cold conditions; some overnight facilities require one.
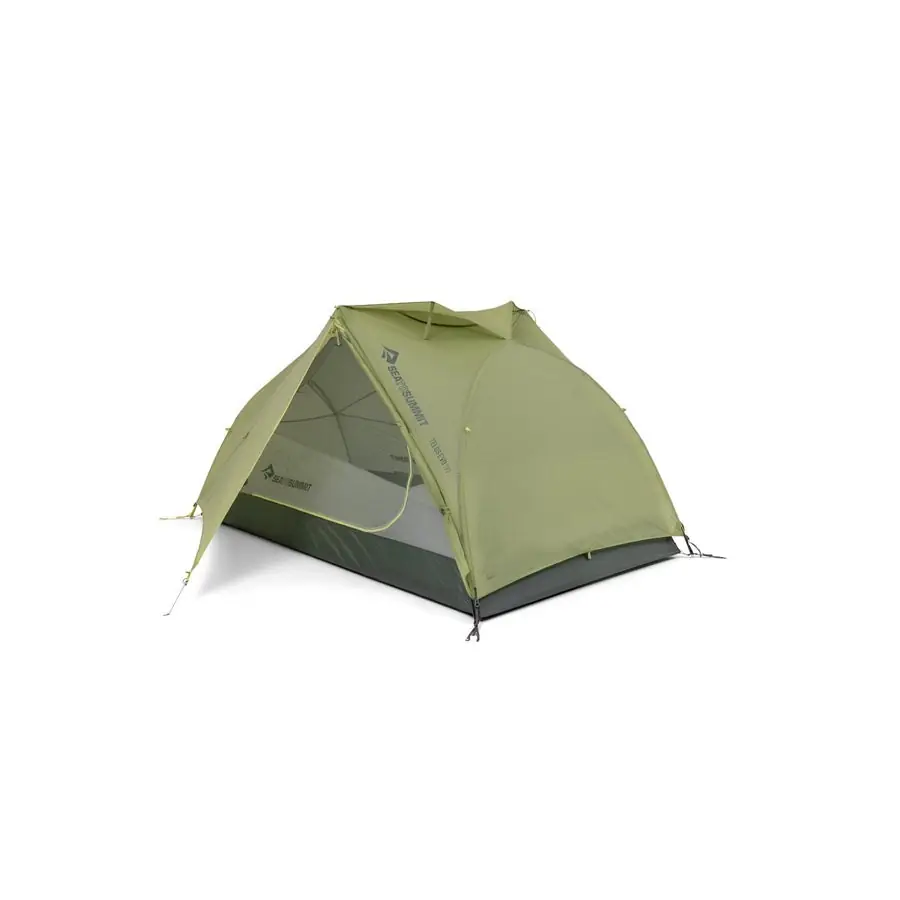
When overnight arrangements require it
Used on camping trips and may be supplied and set up by the crew. Confirm sharing arrangements, suitability for conditions and who carries it. You do not need to buy a tent for every journey.
Plan your daily personal needs even when a support crew is present.
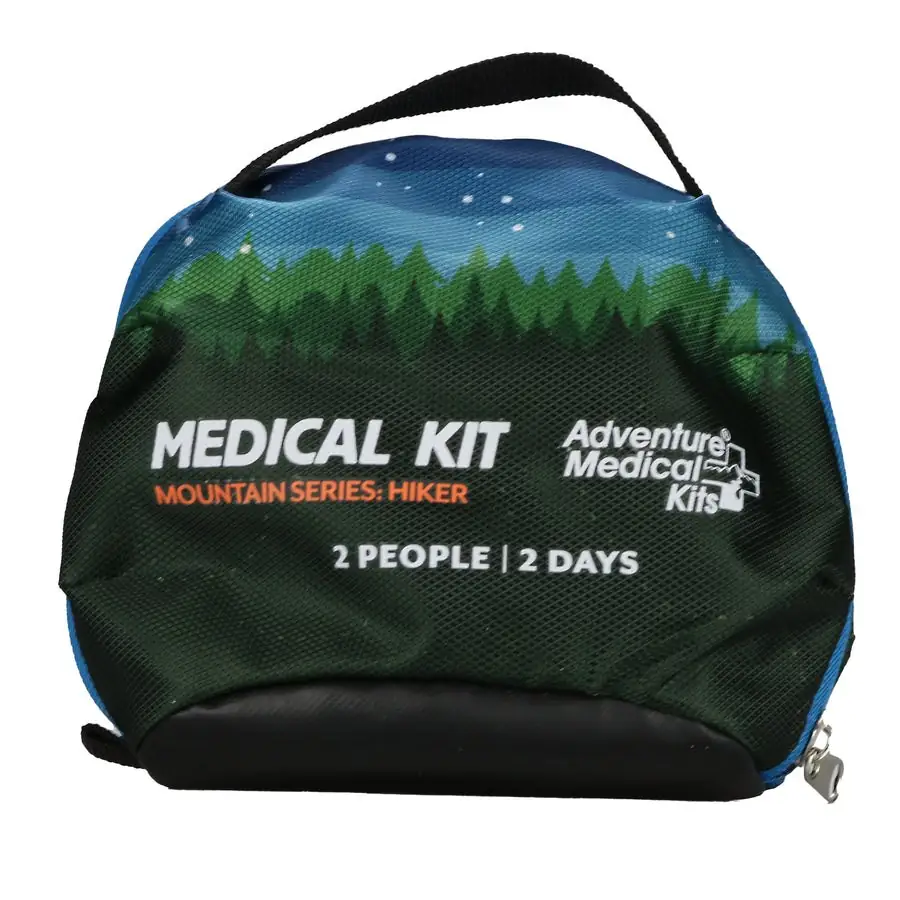
Trail essentials
Pack suitable basic supplies such as blister care alongside prescribed medicines. Tell the team relevant health information before travel. A kit does not replace first-aid training or medical help.
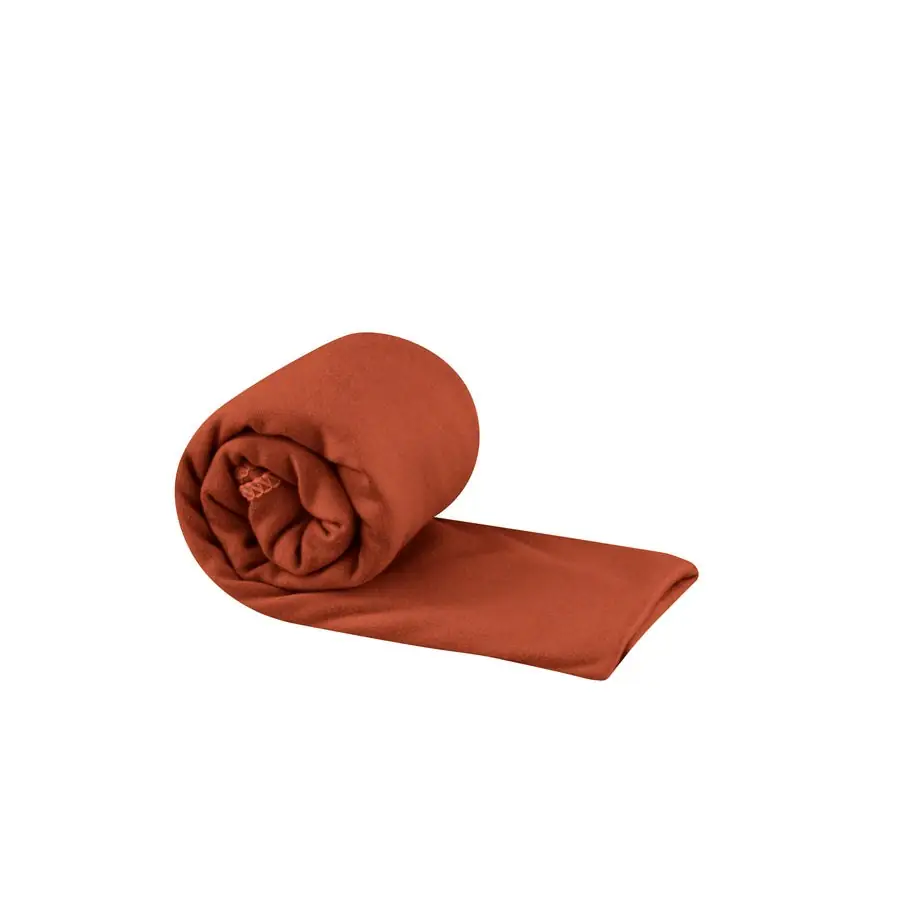
Itinerary-dependent
A light towel for personal washing at camp or huts. Add hand sanitizer, toiletries and menstrual supplies as needed, and check water and facility availability.
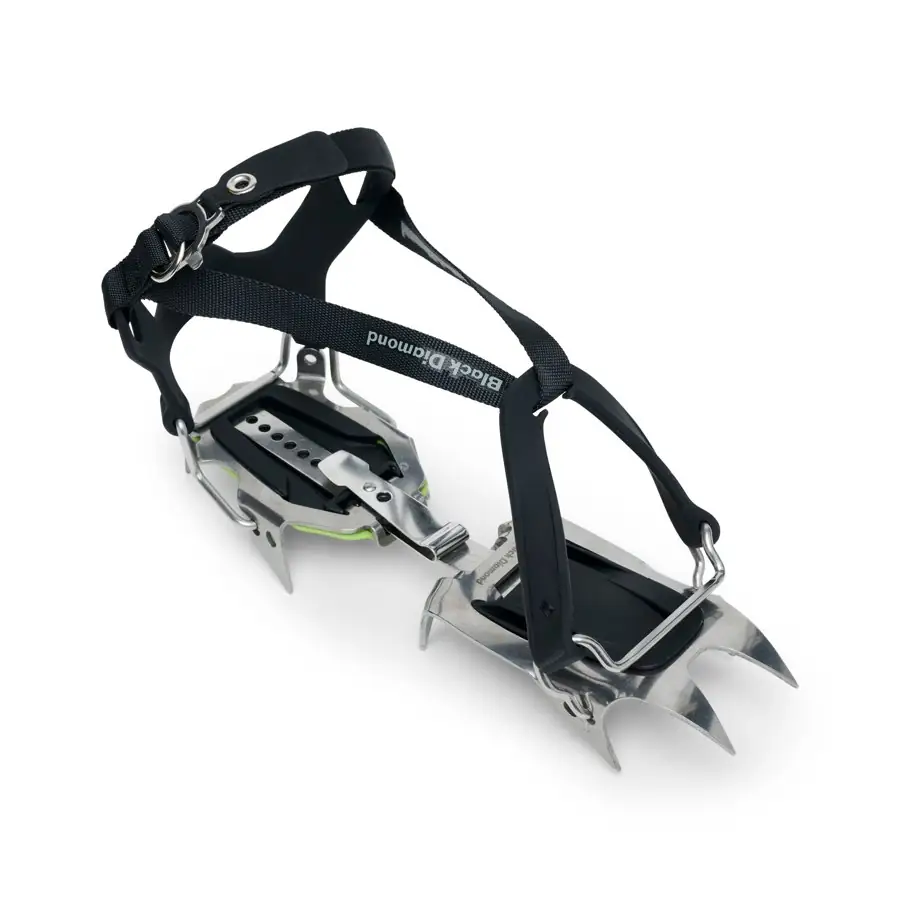
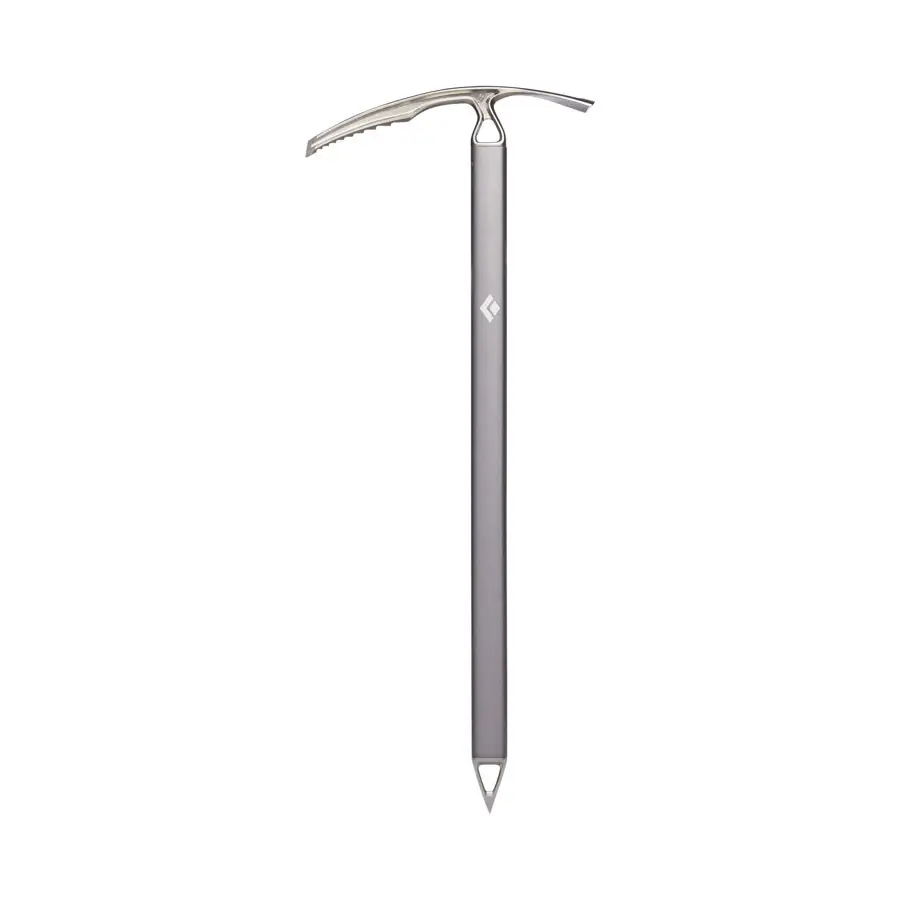
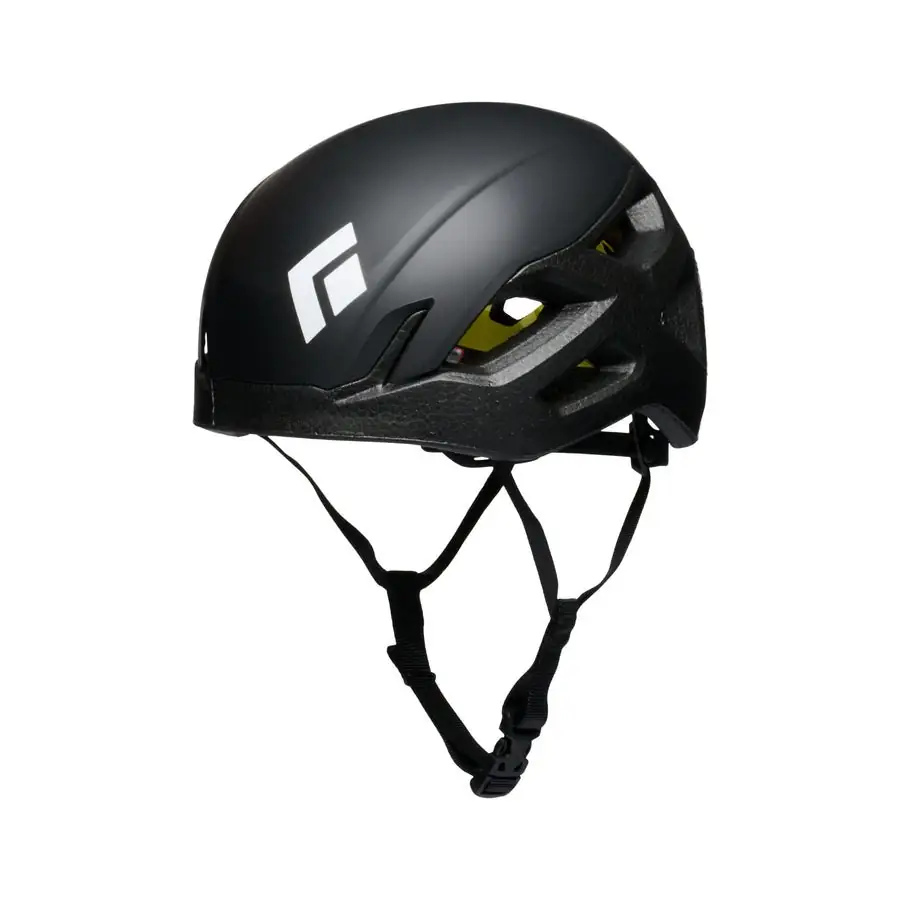
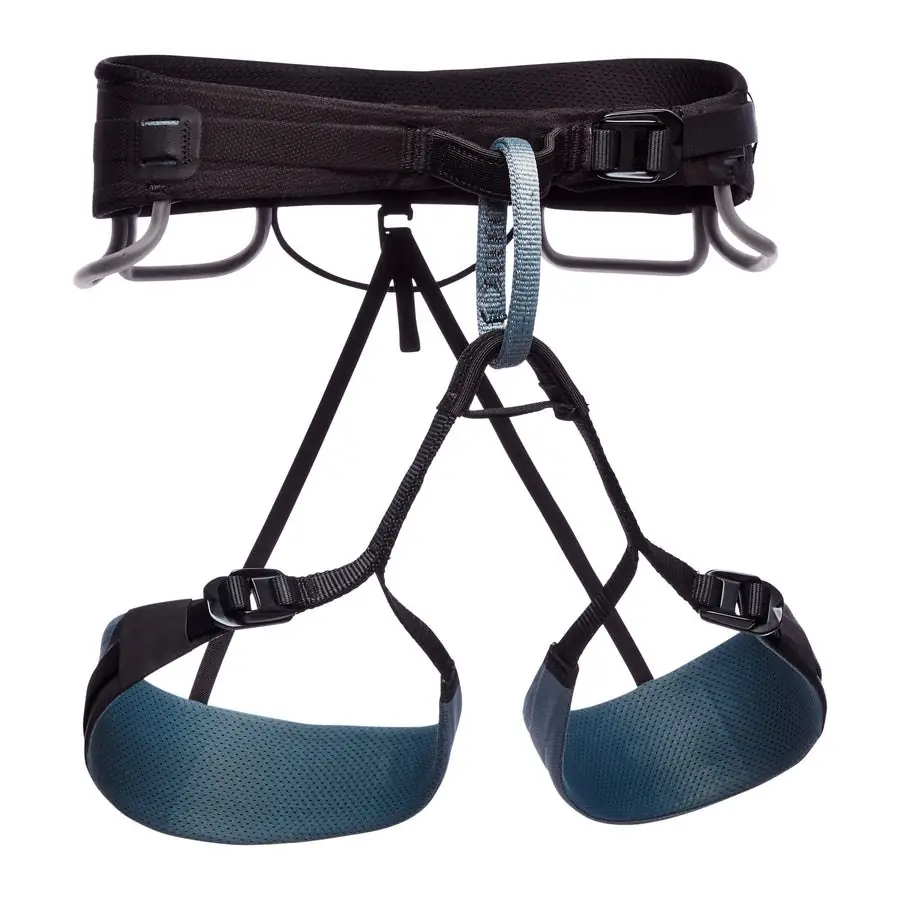
These are not general requirements for every hike. Equipment, compatibility and training must be specified for the route and snow or ice conditions.
Guide confirmation & training required
For hard snow or ice when specified by the guide. They must match your boots and attachment system, and you need training to use them. They are different from lightweight traction spikes.
Guide confirmation & training required
A tool for certain snow routes, not a trekking-pole replacement. The guide specifies the type, length and need. Carrying one is not enough: its use requires suitable instruction and practice.
Guide confirmation & training required
May be required on rockfall-exposed or climbing routes. Use a helmet certified for the activity and fit it with your hat and headlamp according to manufacturer and guide instructions.
Guide confirmation & training required
Used as part of a rope system on specific routes under qualified supervision. It must fit over your trip clothing and be checked for condition and compatibility. It is not ordinary hiking kit.
Wool or synthetic fabric helps manage sweat and dries quickly. Avoid a cotton base layer in cold, wet conditions.
Fleece or an insulated jacket, matched to the cold. Add warmth during stops or falling temperatures; adjust before getting too sweaty.
A rain and wind shell goes over the other layers. Keep it accessible in your daypack rather than buried in your luggage.
Remember a sun hat, sunglasses, sunscreen and spare socks. Add gloves and a warm hat when conditions call for them.
Add sunscreen and lip protection, snacks, rubbish bags, personal medicines and offline documents. Ask about water treatment and emergency arrangements, and suitable maps or backup navigation for the route.
Protect exposed skin on your face, ears, neck and hands with suitable sunscreen alongside a hat, sunglasses and covering clothing. Follow the product instructions for application and reapplication after sweating or wiping, and use suitable sun-protective lip balm. Keep these accessible in your daypack.
Use this alongside your trip packing list. Ticks are saved only on this device and do not mean the team has checked your kit.
Snow and rope equipment is not standard kit for every hike. It needs route-specific confirmation, suitable training and a qualified guide.
Reference photos from equipment makers, linked below. Examples illustrate equipment types; they are not product or brand recommendations. Image rights remain with their respective owners.
Start with your trip page, then ask us about equipment, walking demands, the crew or arrival arrangements.